I have wanted to try my hand at covering an old cork board to transform it into a stylish piece for the kitchen for a while now, and have finally got around to doing just that. In between meeting press deadlines, planning the house move and organising a trip up north for my friend’s wedding this weekend, I put my crafting skills to the test, and armed with a newly bought staple gun (from Dunelm Mill), I made something that I am really proud of.

Take one old cork notice board – I found mine at a car boot sale for 50p!

Buy a fabric of your choice. I got this cool retro printed one from eBay for around £3 for two fat quarters (FQs)
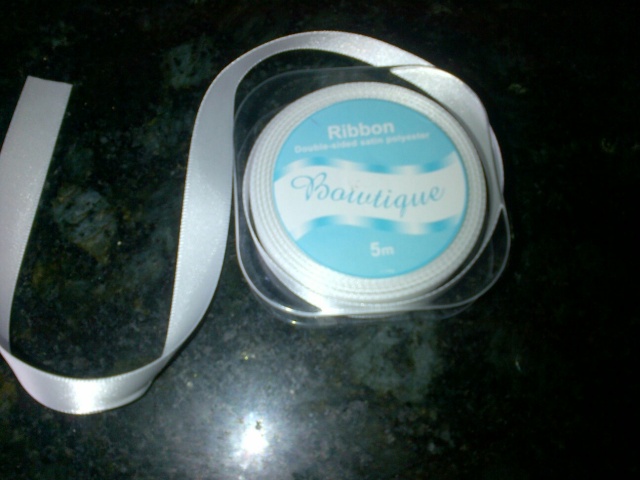
One roll of ribbon, also from Dunelm Mill. Cost £1.99 for five metres

I paid £10 for this staple gun from Dunelm Mill, which was the most expensive element, but will see me through many craft projects to come

And of course, you need pins to secure the ribbon and to use on the notice board once it is finished. I went for a selection of colours. These were £1 from the car boot sale

Start by cutting the fabric to size leaving around two inches overhang to act like a seam. Staple to material to the board starting from the middle and pulling it tight over the front as you go

When it comes to the corners, fold them over like you are wrapping a present, ensuring that the ends are tucked away neatly

For the front. start by crossing two bits of ribbon and securing in the centre with a pin. Staple the ends to back of the board

Carry on arranging the strands of ribbon to create a lattice effect, keeping them as evenly spaces out as possible
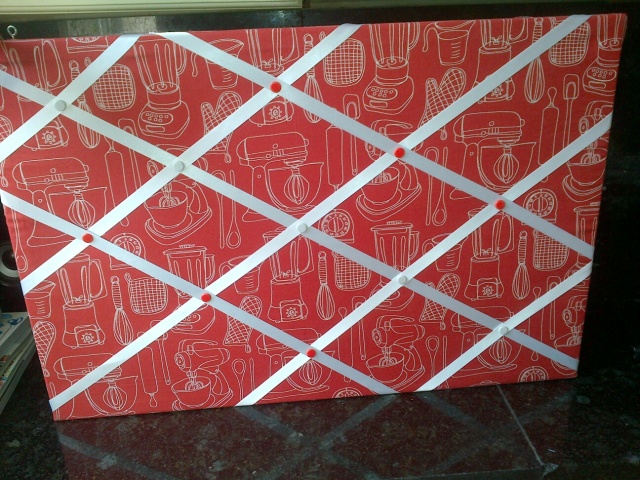
When you have completed the lattice effect, put a pin where each crossover of the ribbon appears. I chose to keep to a red and white colour scheme to match the fabric

Screw in the hanging fixtures to the top of the board, deciding on whether you want it horizontal or vertical.

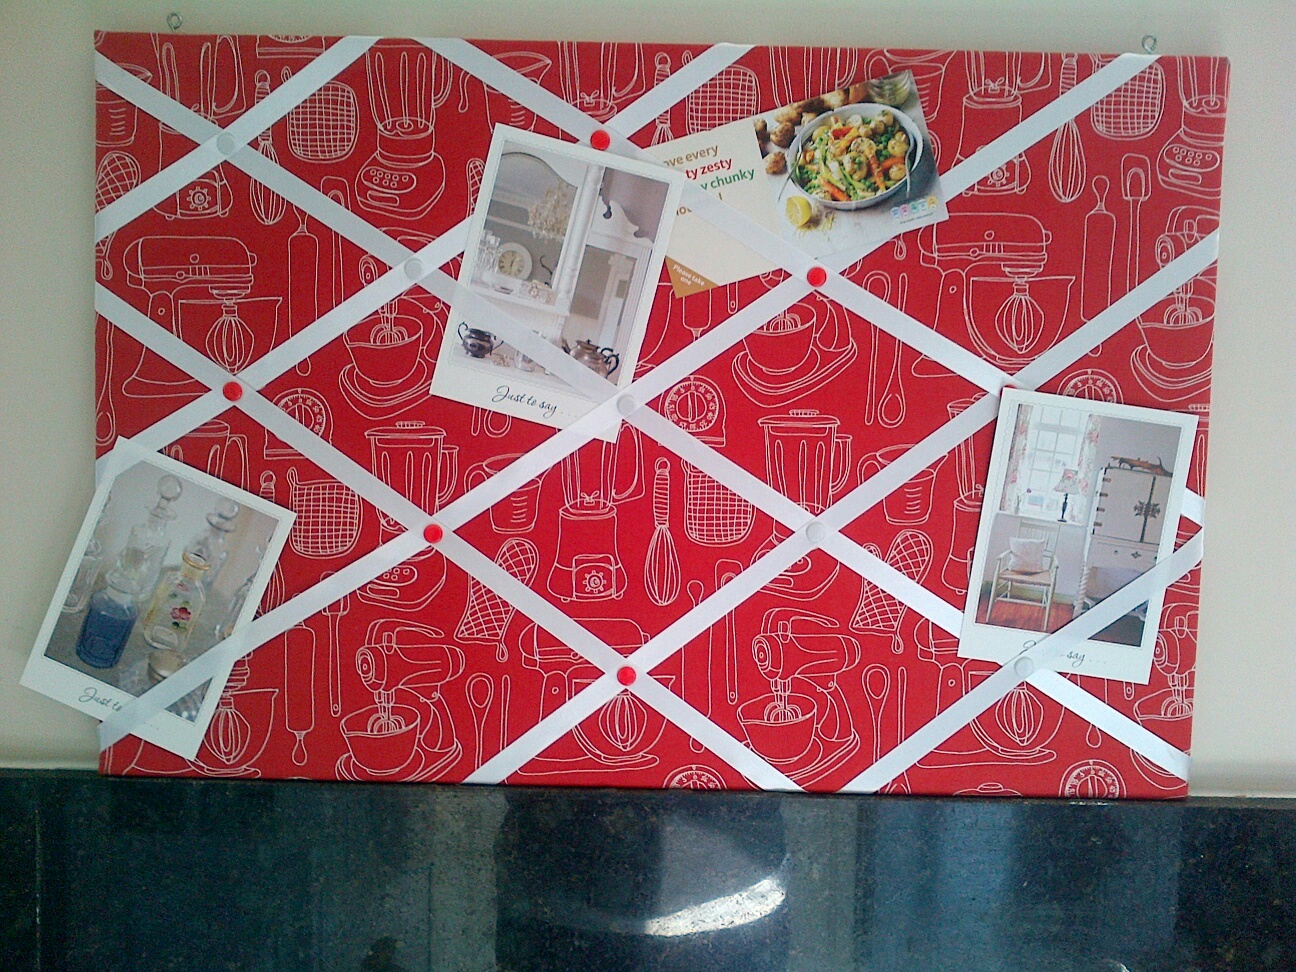
You’re ready to display! Hang the board up and put your favourite postcards, reminders, recipes and business cards in it for easy reach and great decoration
What do you think of the finished result? This project took me around 45 minutes to complete (and I was taking my time). I can’t wait to hang it in my new kitchen, it will work perfectly with my red appliances.