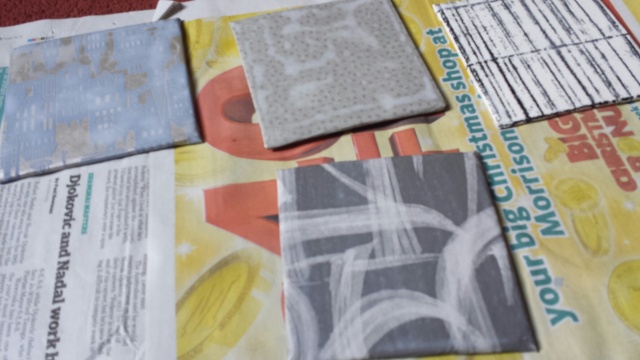
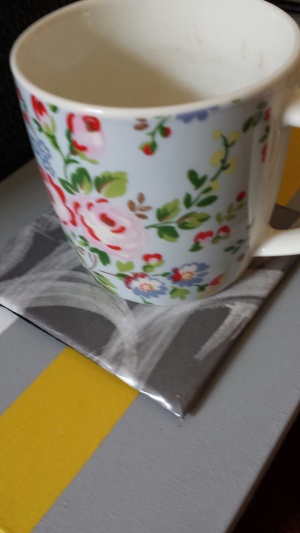
Imagine my grief when the Mr put a cup of tea onto the newly painted drawer tables and it left a perfectly formed ring on the surface. After finishing the new side tables for the living room, my next project was to make some coasters to stop exactly this happening. It seems my crafting was a little too late on this occasion, but I still made these lovely set of four coasters to make sure no more marks will find their way onto my beautiful upcycled pieces of furniture.
I’ve seen these made in various magazines, online and on the TV and with a few quick buys and numerous samples of wallpaper, I got to work on a quiet Saturday afternoon. If you would like to stop partners (or guests) marking your items, these are a great idea. I am rather proud of them, and they match the living room scheme perfectly.
You will need:
Cork coasters – I bought my square ones from Hobbycraft. You can get circular ones if you prefer, or you could try making some sturdier versions from small, old tiles.
PVA glue and some strong glue
Paint brush for the glue
Scissors
As many wallpaper samples as you like
A length of felt – to cover the bottoms once you’ve finished. This will give a nice neat look and ensure the base is smooth and soft against the furniture
A little bit of time

Cut a piece of your chosen wallpaper and leave around 2cm around each edge. Stick the cork coaster in the middle and press

Start folding over each edge neatly, pulling tight to make sure the surface on the front of the coaster is smooth

If the edges start to lift up (despite lots of holding tight) use a little bit of strong glue to keep it in place

Cover all your cork templates in your chosen design and paint a layer or two of PVA glue over them. Leave to dry completely. This took 24 hours when I did it

All dried, cut a square of felt to the size of each coaster and stick to the back. Leave to dry again
What do you think of these DIY coasters? Will you be trying this craft project out for yourself?


So cute!