New sofas: We finally found our bargain

You may remember the little story I told about missing out on a great bargain sofa at a local furniture clearance event, but never fear, every cloud does indeed have a silver lining. In my case, this lining came in the form of a successful bid on eBay for two nearly-new grey John Lewis two-seater sofas which came in at £200 for the pair. Given that these little babies usually retail at around the £600-£700 mark, I am well and truly thrilled with them.

My love/hate relationship with eBay ended with a great bargain buy

My love/hate relationship with eBay ended with a great bargain buy

I have a bit of a love/hate relationship with said eBay, as just before I bagged my lovely settees, I lost out to another grey two-seater from Sofa Sofa at the very last second. I was so bitterly disappointed with the loss of another sofa, that I literally spent hours trawling through search pages to find a better option and found the John Lewis pair and my happy ending.

This all happened about a week before the big move and we organised the pick up (only about 30 minutes away from the new house – bonus) for moving day so we had somewhere to sit after a hard day of lifting, unpacking and assembling. The Mr would have been quite happy without a sofa or two for the first couple of weeks, but, for me, they were a necessity!

We got two of these John Lewis two-seaters for £200 on eBay

We got two of these John Lewis two-seaters for £200 on eBay

I love the colour and the beech feet...more on the cushions later

I love the colour and the beech feet…more on the cushions later

What do you think of my bargain sofas? I’d love to hear about your eBay finds!

Move complete

There are three things I have learned recently: moving house is a mammoth task, everyone is a hoarder and tiredness is only for the weak.

After hours of packing and unpacking, driving back and forth and back again to pick up random items of furniture, the move to our new home in Warwick is now complete. We quickly found out that combining two people’s possessions and trying to fit them all into one house (along with the various bits and bobs we bought along the way in the lead up to the move), is a great task indeed, and one that requires organisation, calm(!) communication and a lot of elbow grease and hard graft.

But now the adventure can really begin and I am thrilled to be in the new house now that we have discovered some sort of organisation. Although there is still a lot to do to make it truly our home, the bare bones of it are already in place. I am really looking forward to pushing our creative minds to the limit and seeing what we can achieve on a budget that will force us to look harder, and hopefully, find most beautiful second-hand pieces around. Next on the list is to get familiarised with the packet of sand paper we bought recently. Well, after a nap anyway because where tiredness is concerned, I am definitely of the weak variety – or so I have found.

I became quite accustomed to life in a van - I reckon we covered more than 200 miles over the weekend

I became quite accustomed to life in a van – I reckon we covered more than 200 miles over the weekend

Home sweet home

Home sweet home

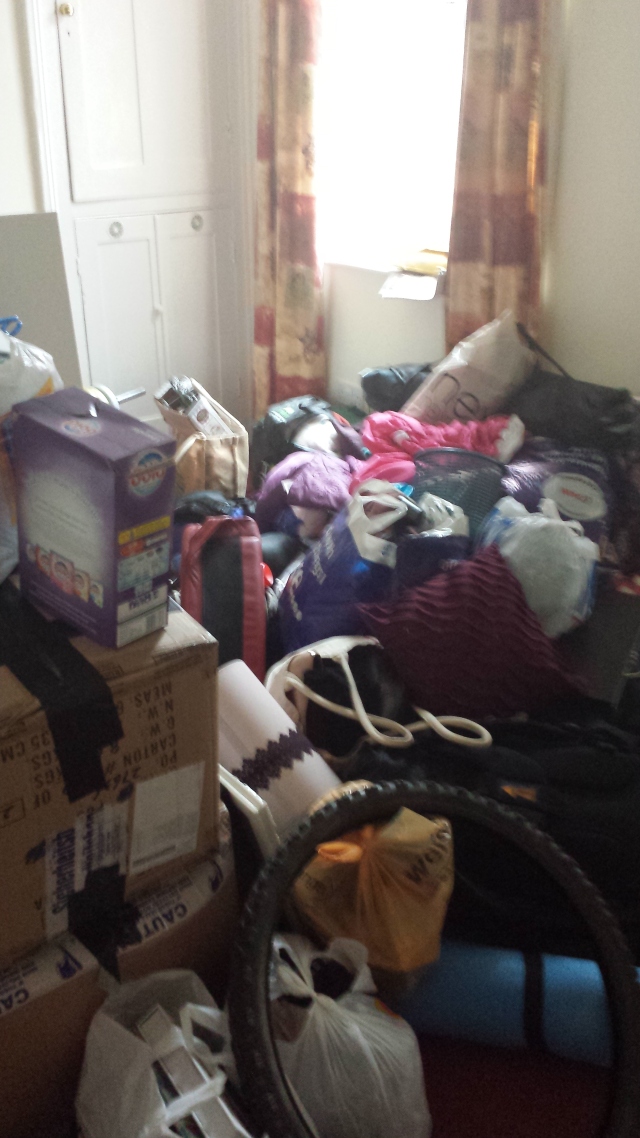
Before the organising began, it was chaos! I'd like to say it was organised chaos - but it wasn't

Before the organising began, it was chaos! I’d like to say it was organised chaos – but it wasn’t. Check out the curtains!

Upcycling: What to do with…?

I had the pleasure of being bridesmaid at my friend’s wedding last weekend and after a very lovely day, I was pleased to be given one of the gorgeous table centre pieces, which the bride made herself. The day was lots of fun and the venue was styled beautifully in a colour scheme of cadbury purple and white. 

Now that the Big Day is over, I am the happy owner of one of the bird cages and I need inspiration of what to do with it next (as it is currently housed in my basement). Friends and family have suggested leaving it as it is and putting it in the garden, using it as a hanging basket or placing it in the bathroom as a decorative piece. But what do you think? Shall I leave it as it is or transform it into something even more stylish, while keeping the memories of the wedding alive too?

What shall I do next with this beautiful wedding table centre piece?

What shall I do next with this beautiful wedding table centre piece?

The venue was decorated in a purple and white colour scheme

The venue was decorated in a purple and white colour scheme


The boy did good

Now, you may have realised I like a freebie as much as the next person, so imagine my glee when I arrived home to find the mr had bagged us some kitchen gear during a mass clear out at his office.

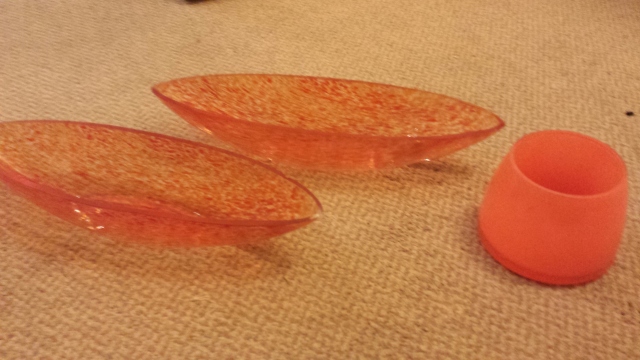
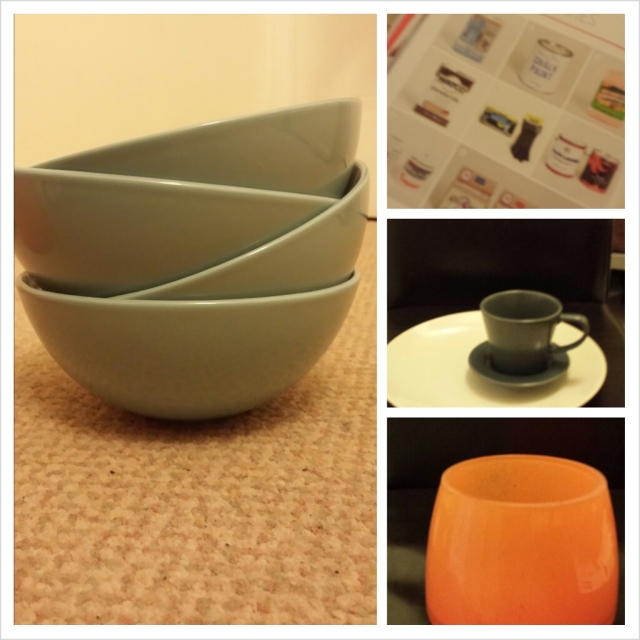
We are definitely set for the kitchen now after he brought back a box full of trendy coffee cups and saucers, matching plates and some bowls, along with some decorative orange glassware, which will look lovely in the bedroom.

He also managed to get a glass TV stand home – great for the living room.

20130904_204535

I am not sure what to use these glass bowls for yet, but I think they will be nice for my Moroccan-inspired bedroom scheme

PhotoGrid_1378505249369

A whole box for of coffee cups and saucers...and another full of plates

A whole box for of coffee cups and saucers…and another full of plates

A free glass TV stand which I am yet to see set up...

A free glass TV stand which I am yet to see set up…

So now we have tackled the furniture clearance and managed to build up some house stuff from an office clearance…whatever next?

Project #2: Handmade notice board

I have wanted to try my hand at covering an old cork board to transform it into a stylish piece for the kitchen for a while now, and have finally got around to doing just that. In between meeting press deadlines, planning the house move and organising a trip up north for my friend’s wedding this weekend, I put my crafting skills to the test, and armed with a newly bought staple gun (from Dunelm Mill), I made something that I am really proud of.

Take one old cork notice board - I found mine at a car boot sale for 50p!

Take one old cork notice board – I found mine at a car boot sale for 50p!

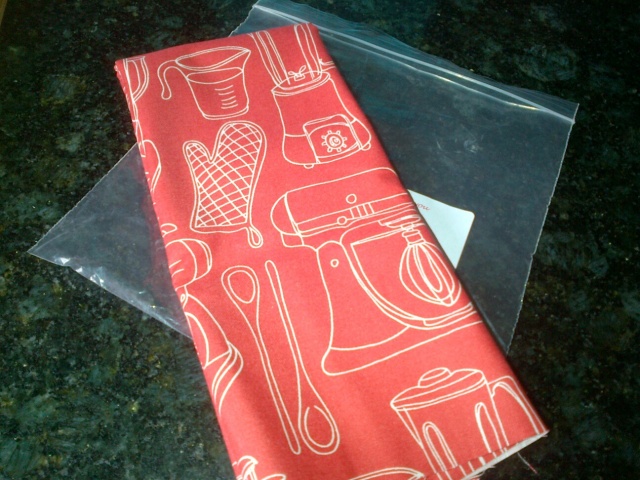
Buy a fabric of your choice. I got this cool retro printed one from eBay for around £3 for two fat quarters (FQs)

Buy a fabric of your choice. I got this cool retro printed one from eBay for around £3 for two fat quarters (FQs)

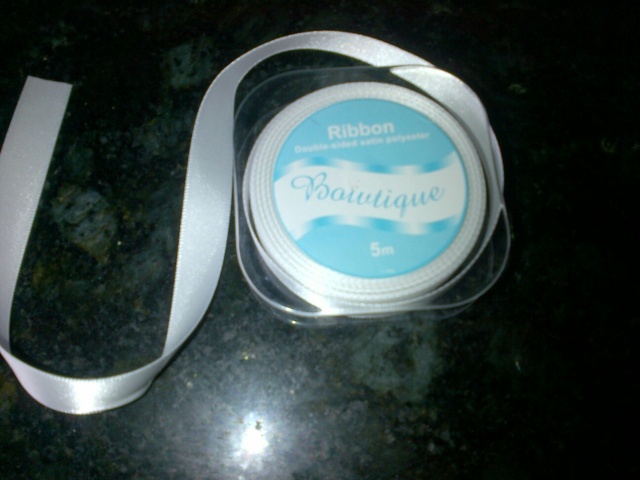
One roll of ribbon, also from Dunelm Mill. Cost £1.99 for five metres

One roll of ribbon, also from Dunelm Mill. Cost £1.99 for five metres

I paid £10 for this staple gun from Dunelm Mill, which was the most expensive element, but will see me through many craft projects to come

I paid £10 for this staple gun from Dunelm Mill, which was the most expensive element, but will see me through many craft projects to come

And of course, you need pins to secure the ribbon and to use on the notice board once it is finished. I went for a selection of colours. These were £1 from the car boot sale

And of course, you need pins to secure the ribbon and to use on the notice board once it is finished. I went for a selection of colours. These were £1 from the car boot sale

Start by cutting the fabric to size leaving around two inches overhang to act like a seam. Staple to material to the board starting from the middle and pulling it tight over the front as you go

Start by cutting the fabric to size leaving around two inches overhang to act like a seam. Staple to material to the board starting from the middle and pulling it tight over the front as you go

When it comes to the corners, fold them over like you are wrapping a present, ensuring that the ends are tucked away neatly

When it comes to the corners, fold them over like you are wrapping a present, ensuring that the ends are tucked away neatly

For the front. start by crossing two bits of ribbon and securing in the centre with a pin. Staple the ends to back of the board

For the front. start by crossing two bits of ribbon and securing in the centre with a pin. Staple the ends to back of the board

Carry on arranging the strands of ribbon to create a lattice effect, keeping them as evenly spaces out as possible

Carry on arranging the strands of ribbon to create a lattice effect, keeping them as evenly spaces out as possible

Redditch-20130825-00820_resized

When you have completed the lattice effect, put a pin where each crossover of the ribbon appears. I chose to keep to a red and white colour scheme to match the fabric

Redditch-20130825-00824_resized

Screw in the hanging fixtures to the top of the board, deciding on whether you want it horizontal or vertical.

You're ready to display! Hang the board up and put your favourite postcards, reminders and business cards

You’re ready to display! Hang the board up and put your favourite postcards, reminders, recipes and business cards in it for easy reach and great decoration

What do you think of the finished result? This project took me around 45 minutes to complete (and I was taking my time). I can’t wait to hang it in my new kitchen, it will work perfectly with my red appliances.

Easy apple crumble

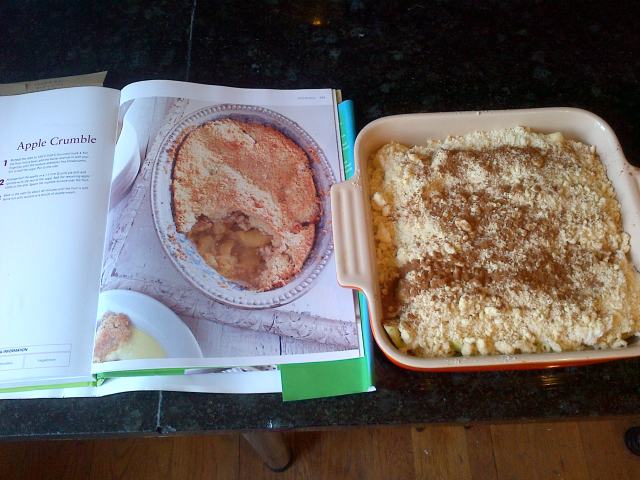
What’s better than a good apple crumble? It may be an easy recipe to master filled with fond memories of home life, but satisfying it most definitely is. You may remember I purchased some lovely, locally-grown bramley apples from Studley Car Boot sale on Sunday, which made for a lovely base to a homely crumble. The recipe I used is from an equally traditional cook book and is one that will last me a long time to come yet. The only change I made is to double the crumble mix for extra crunch. If you’ve got a spare hour or so and some apples to use up, why not give it a go…and don’t forget to let me know how it turns out.

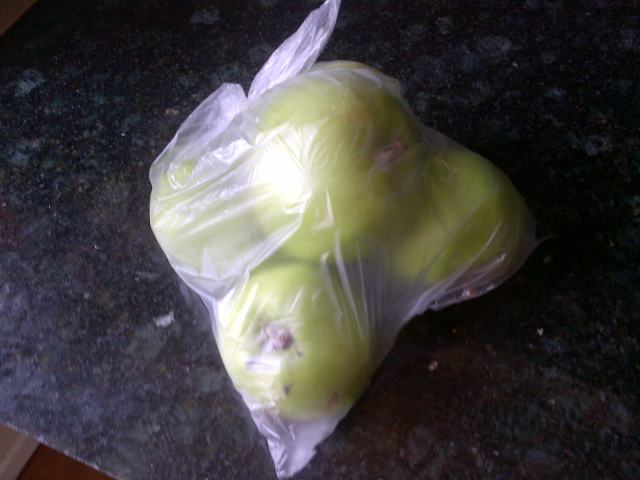
Five bramley apples picked from a local orchard - only £1. Perfect for an apple crumble

Five bramley apples picked from a local orchard – only £1. Perfect for an apple crumble

Easy_To_Make_Complete_Cookbook

Good Housekeeping’s Easy To Make Complete Cookbook will be a feature in my new kitchen

You will need:

250g plain flour
100g unsalted butter
100g sugar
5 large apples

Here’s how:

1. Preheat the oven to 180 degrees C (160 fan). Put the flour, butter and sugar in a bowl and rub with your fingertips until the mix resembles breadcrumbs.
2. Arrange the apples in an oven-proof dish of your choice, sprinkle with one tablespoon of sugar. Sprinkle the crumble mix evenly on top and finish with an optional dusting of cinnamon.
3. Bake for around 45 minutes until the fruit is soft and the topping is golden brown.

Apple_crumble_recipe

The result: tasty and homely. Perfect for a Bank Holiday

Since it was a Bank Holiday, I was feeling particularly brave and decided to try my hand at making custard from scratch. I found a great BBC Food recipe which seemed easy enough and with plenty of whisking turned out well.

The results went down a treat with the Mr and my current housemate and proved that the car boot sale can have great (and tasty) rewards indeed.

Car booty

So far, my quest for bargain furniture and home accessories has led me to many clearances, antique fairs and charity shops, but this morning was the turn of the humble car boot. Instead of a lie in, Sunday breakfast and nice cup of coffee in front of the tele watching Saturday Kitchen Best Bites on BBC2, I made my way up the road to Studley Car Boot Sale in Stratford-On-Avon. The Mr decided he would sit this one out so off I went in search of cheap bits and bobs and ideas of what you can get from the boot sale if you look hard enough.

Studley_Car_Boot

There were plenty of stalls to mooch around at Studley Car Boot Sale

I found a few things to add to my list of ideas for the new house

I found a few things to add to my list of ideas for the new house

The place was huge. It was definitely the biggest car boot I have ever been to and was filled with eager bargain hunters like myself. There was plenty of tat, as you would expect, but among the old books, DVDs, kids toys and Playstation 1s, I found a real reindeer hide rug (very on trend), a bright purple retro-style phone, and a lot of nest table sets that would have looked great after a lick of paint.

But what I was really after was a plain old cork board to satisfy my craft craving to make a lovely notice board for the kitchen. Having looked in three different stationery shops yesterday with no luck, I was delighted to find one for 50p. I also picked up some bramley apples for a £1 and a Breton-style top that will be good for work (after a wash!).

The phone I saw was like this but in purple, I wouldn't mind one of these too

The phone I saw was like this but in purple, I wouldn’t mind one of these too

I found one! It may seem simple, but I was after a cork board for my next craft project

I found one! It may seem simple, but I was after a cork board for my next craft project

Five bramley apples picked from a local orchard - only £1. Perfect for an apple crumble

Five bramley apples picked from a local orchard – only £1. Perfect for an apple crumble

So now I have all I need for a productive afternoon including a crafty project to turn my cork board into a stylish notice board and a few locally-grown apples to bake a nice crumble – I’m sure the Mr will appreciated that car boot find after all. As for Studley Car Boot Sale, I’m sure I’ll be back in the new few weeks to continue my bargain hunt.

Video: Update furniture with decoupage

Following on from my post about different ways to use wallpaper, I came across this great video from Clas Ohlson on using leftover bits of wallpaper to create a unique piece of furniture. I am going to try this idea out for myself as all you need if a couple of paint brushes, wallpaper (or even old wrapping paper or newspaper cuttings), PVA glue and some time – and a piece of furniture of course. I remember seeing an old episode of Kirstie Allsopp’s Kirstie’s Vintage Home where she used cuttings to cover the back of a bedside cabinet and loved the idea then too. What do you think?

Bedside_cabinet_kirstie_allsopp

Kirstie Allsopp transformed this bedside cabinet using old scraps of wallpaper (Image: Daily Mail extract of Kirstie’s Vintage Home)

How To Hang a Picture Frame

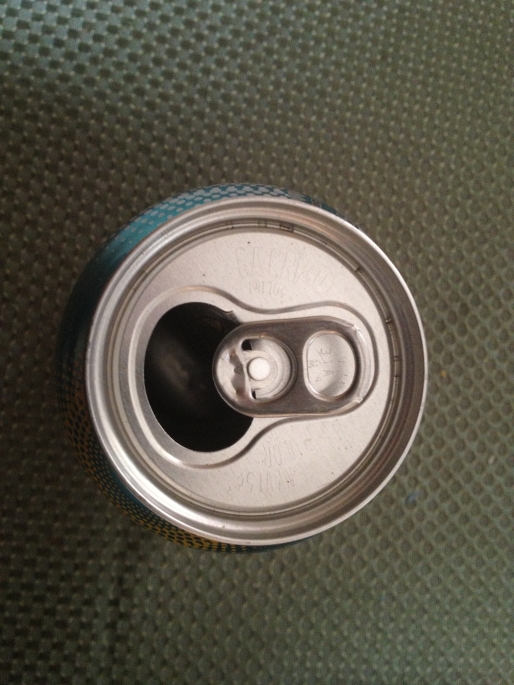
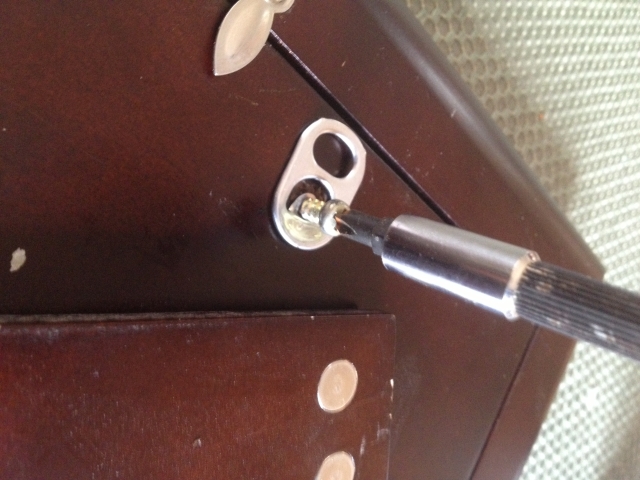
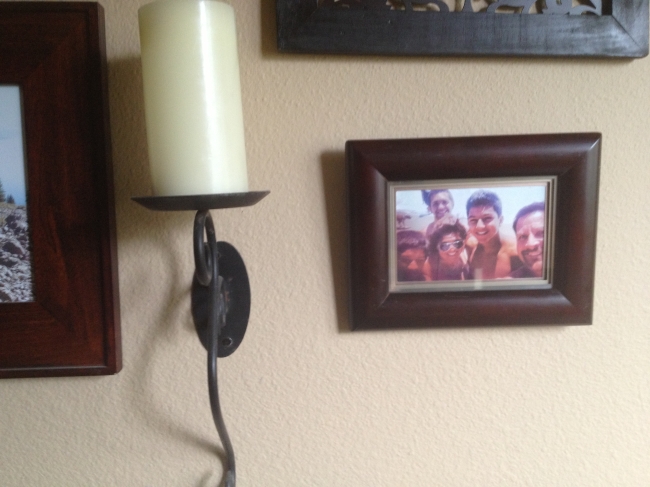
Came across this little gem of a blog post today and thought it would be criminal not to share it. I have loads of photo frames I want to hang in the new house, but couldn’t think of a way of getting around hanging ones that are currently just designed to stand on mantle pieces and window sills. Well, thanks to Budget Gal From So Cal, I can now enjoy all my snaps and create a lovely display in the hallway. I better get some cans of pop in though!

Budget Gal From So Cal

Goodmorning, today’s project is when you have the dilemma of wanting to hang a cute snapshot on the wall in a picture frame you have laying around the house, however this frame has no way of hanging.  All you need is a flip top aluminum soda can and a small screw and screwdriver… check it out! Image

This is great for sitting on the table, but not for hanging on wall…

frame3

frame4

Image

Now that was easy!!!   I can’t take the credit, I saw this posted a while back on romance on a dime website. 

View original post

Ways with wallpaper

Thought wallpaper was just for your walls? Think again. Inspired by my colleagues on Period Living magazine, who turned the office into a haberdashery of late, I decided to get my craft head on and revitalise some not-so-stylish items found around the house. Whether you have old books, disused hat boxes, photo frames that are a bit dated or even an art print that you don’t like any more, you can bring it back to life with a few bits of wallpaper. I was cheeky and made my way around B&Q getting plenty of samples, but you could use this as an opportunity to use up leftover rolls of wallpaper – or if you’re feeling nifty, you could opt for fabric samples instead.

Uses for wallpaper

I’ve built up a little collection of wallpaper samples for future projects

Uses for wallpaper

This box started life as a VERY glittery silver Christmas gift box – now it’s a stylish storage box, which will go lovely in the new living room scheme

Lampshade redesign

I turned a beige (boring) lampshade into a statement piece with scraps of this lovely blue and silver wallpaper

Uses_for_wallpaper_craft

While time consuming, I was very pleased with the finished results

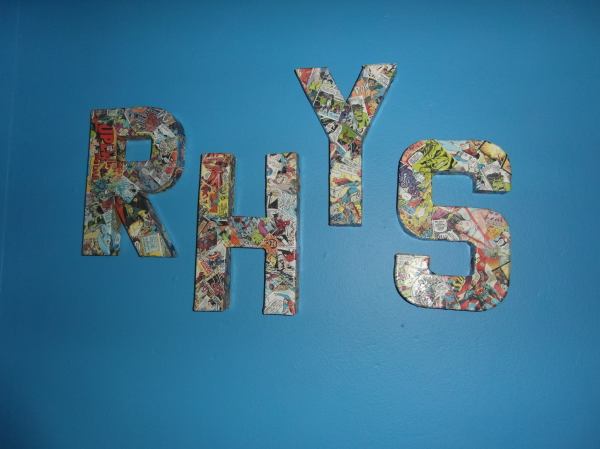
Convinced that wallpapering everything is the way forward for savvy, purse-friendly interior makeovers, I was pleased to see that my friend Emily had also adopted the technique when decorating her son’s room. The papier mache letters look great and it is a simple concept with plenty of design impact. I will definitely be stealing this idea!

Uses_for_wallpaper

Emily’s idea for alternative artwork works really well

UPDATE: I love this idea from Laura Ashley, and is definitely something I will try when I come to decorating my living room for Christmas.